

Create and Deploy Docker Container with Django and Gunicorn on Google Cloud Run
This article walks you through the process of hosting a Dockerized Django application on GCP.


This article shows you how to easily Dockerize and host a Django application on Google Cloud Platform, using Cloud Run — a fully managed serverless platform to develop and deploy highly scalable containerized applications.
Setting up the CI/CD Pipeline
The main components of the pipeline are:
- GitHub
- Cloud Build
- Cloud Run
The CI/CD pipeline setup listens for changes pushed or merged to the repository's main branch on GitHub through a trigger defined on Cloud Build.
In order to follow along, you'll need to set up a google account and then create a project on GCP, google has an article you can read through if you need any help with that process and also understand the requirements and benefits of having a GCP account.
Enable Cloud APIs
GCP allows you the flexibility of enabling cloud APIs that suits your development needs, these APIs allows communication with google services and their integration with other services. For example, enabling the Cloud Build API allows us to connect and create build triggers to GitHub for the CI/CD pipeline.

Note: you'll be required to have set up a billing account to enable the APIs
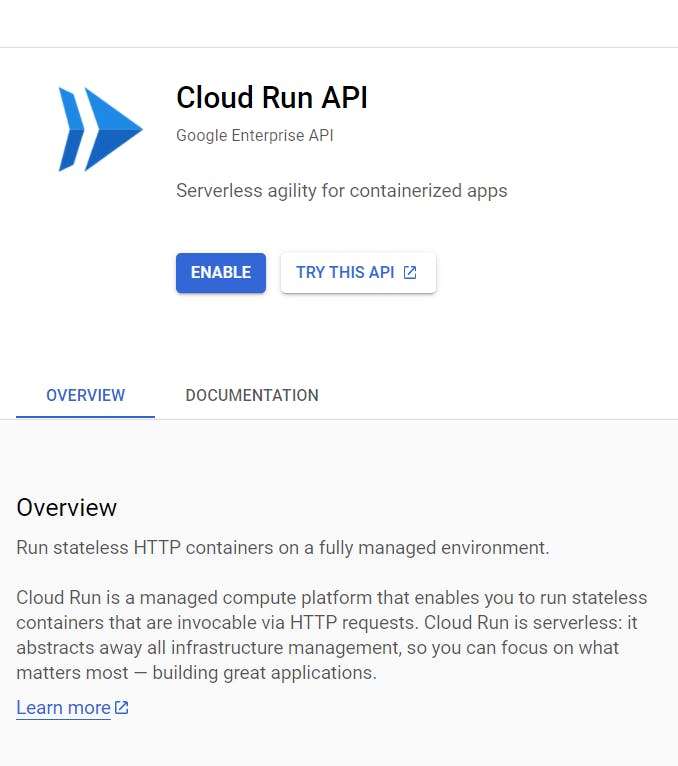
For the purpose of what we want to achieve, we'll be enabling the:
- Cloud Build API
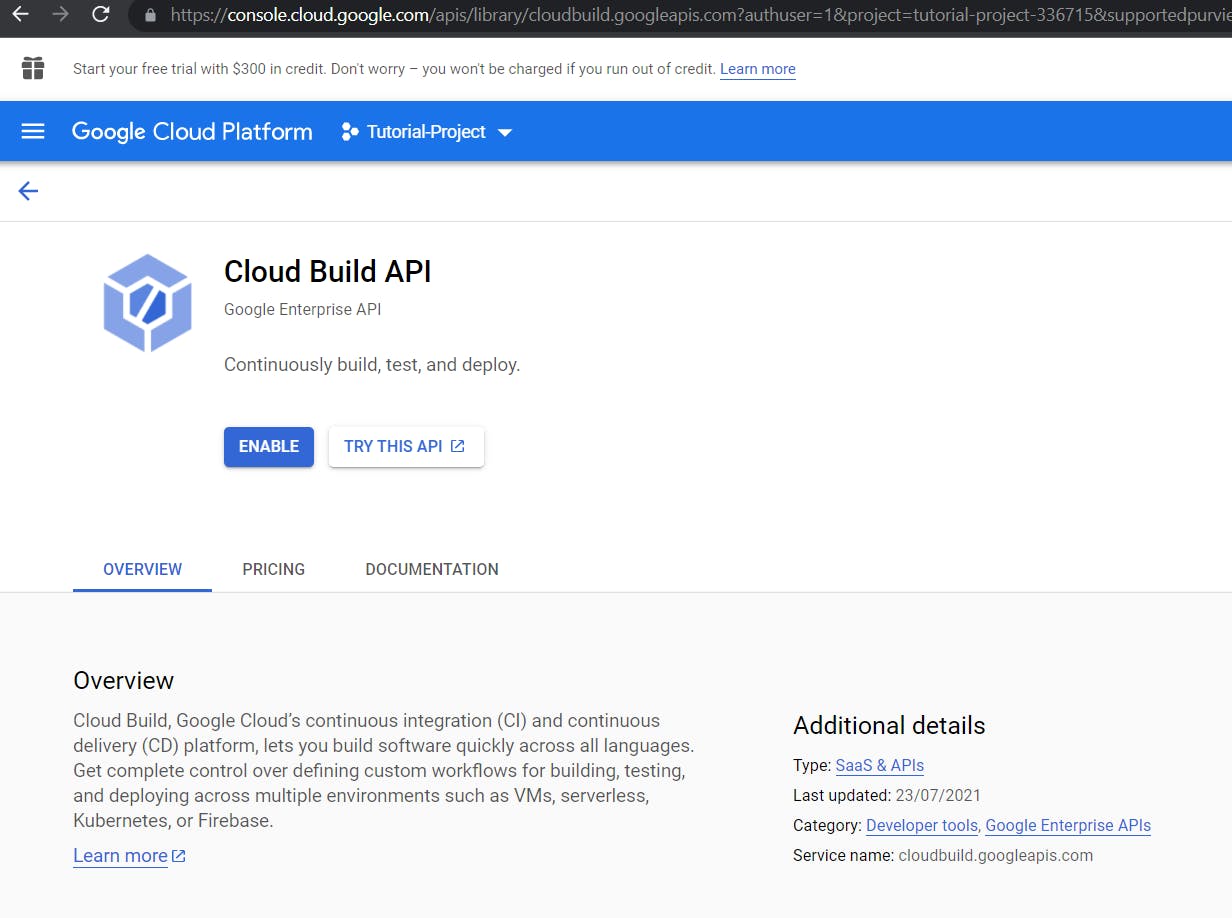
- Cloud Run API
You can clone the sample repository I created for the purpose of this article from GitHub .
Application structure
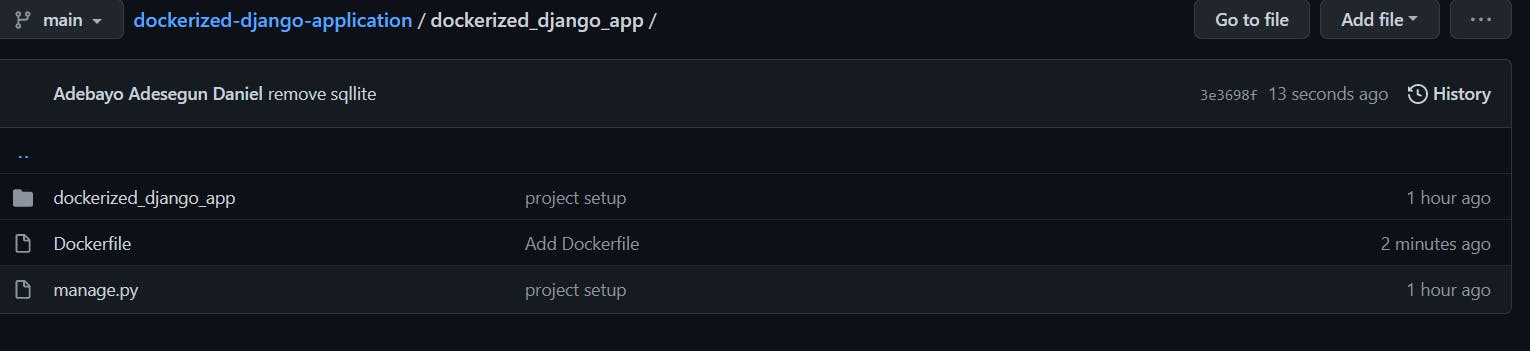
One important lesson I learned the hard way was how to properly structure your application for GCP. the screenshot below is from Docker Desktop, and I had this error popping up anytime I ran the docker container and it sure took a while to figure out that the issue I had was just with the folder structure 😒.
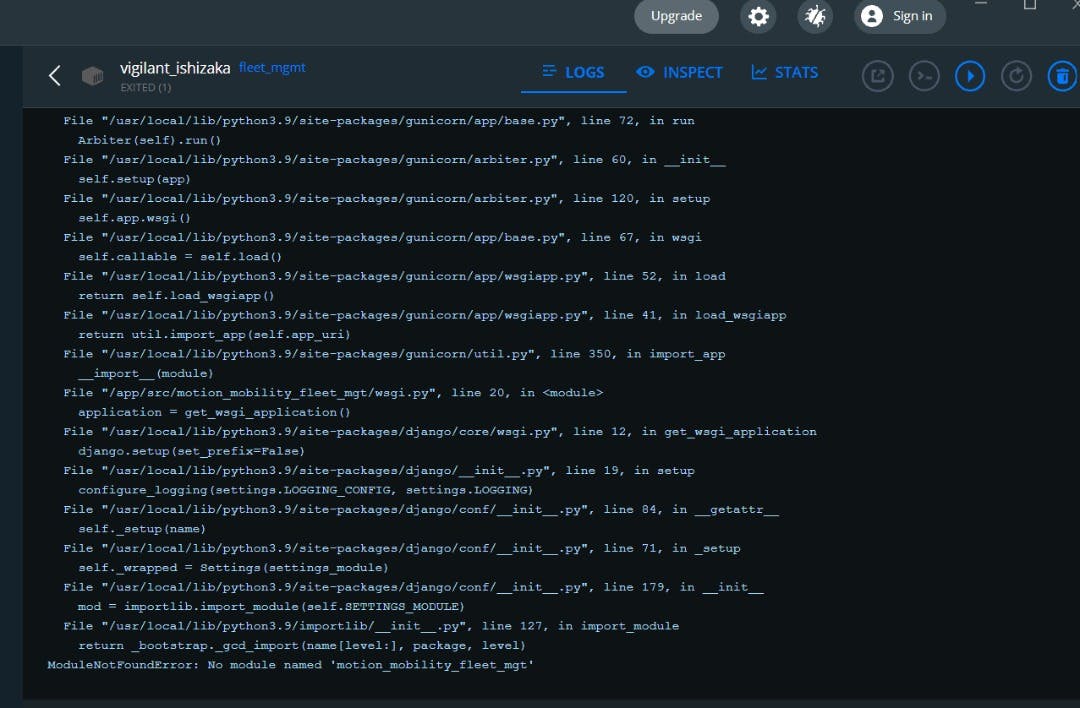
The image below shows that the Dockerfile must be in the same directory as the manage.py and requirements.txt file or in the case where you use an app.yaml file, it has to be in the same directory as manage.py also.
Here's the Dockerfile that runs our application:
# Use an official lightweight Python image.
# https://hub.docker.com/_/python
FROM python:3.9-slim

ENV APP_HOME /app
WORKDIR $APP_HOME

RUN apt-get update \
  && apt-get upgrade \
  && apt-get install -y nginx \
  && apt-get install -y supervisor

# Install dependencies.
COPY requirements.txt .

RUN pip install -U pip && pip install -r requirements.txt

# Copy local code to the container image.
COPY . .

# Service must listen to $PORT environment variable.
# This default value facilitates local development.
ENV PORT 8000

# Setting this ensures print statements and log messages
# promptly appear in Cloud Logging.
ENV PYTHONUNBUFFERED TRUE


# Run the web service on container startup. Here we use the gunicorn
# webserver, with one worker process and 8 threads.
# For environments with multiple CPU cores, increase the number of workers
# to be equal to the cores available.
CMD exec gunicorn --bind 0.0.0.0:$PORT --workers 3 --threads 8 --timeout 120 --preload dockerized_django_app.wsgi
Create Cloud Run Service
Now that we have been able to prepare our repository and also enable the Cloud Build and Cloud Run APIs. The next step is creating a Cloud Run service by navigating to the service page.
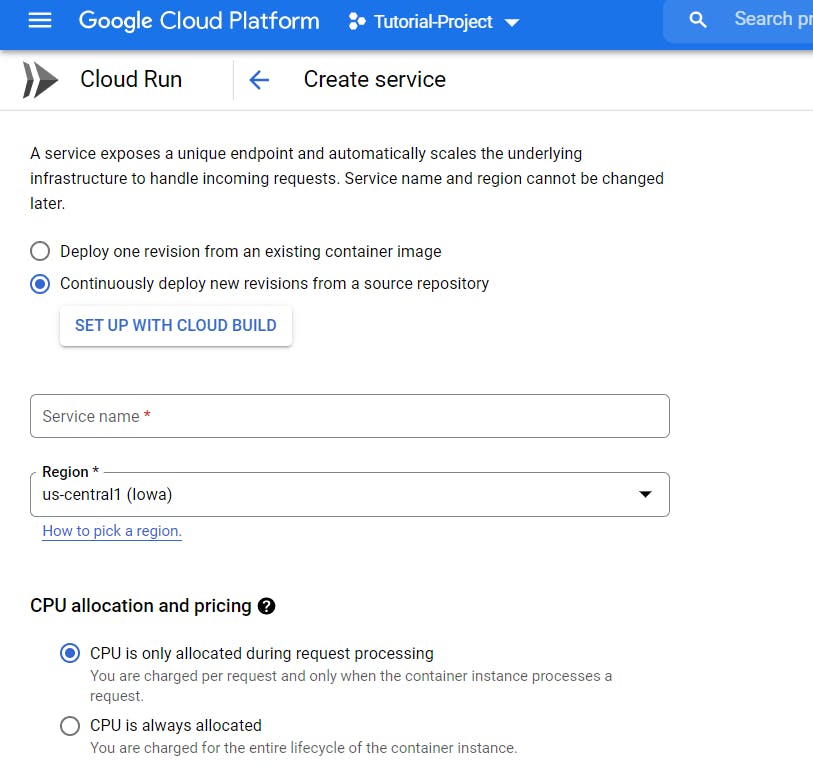
From the image above, ensure you select the "Continuously deploy new revisions from a source repository" to set up the Cloud Build trigger that connects your GitHub repository and sets a trigger to build a new image anytime there's a push to the main branch.
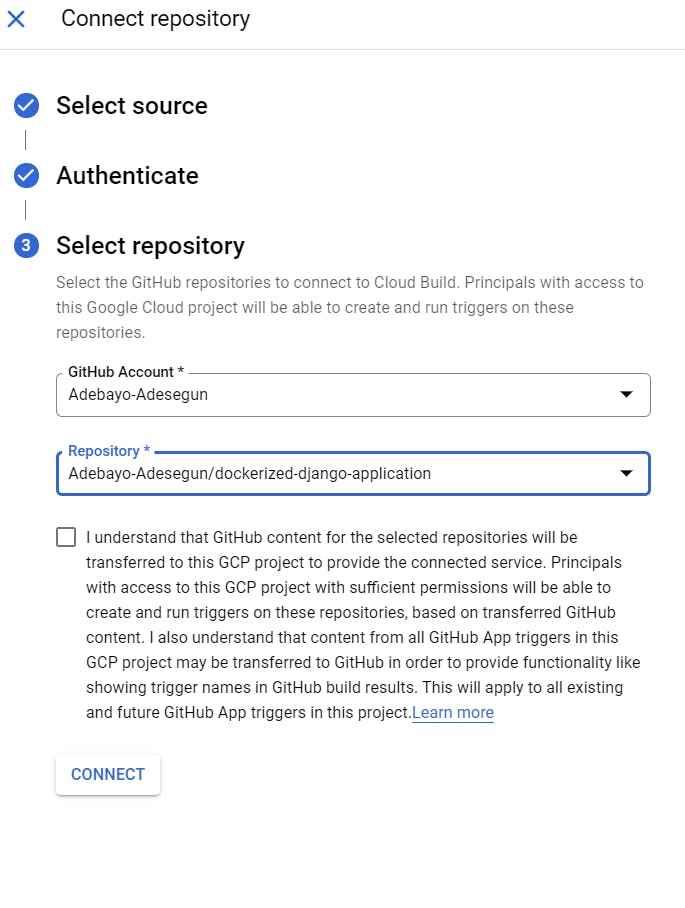
Authenticate and select your repository, then click connect
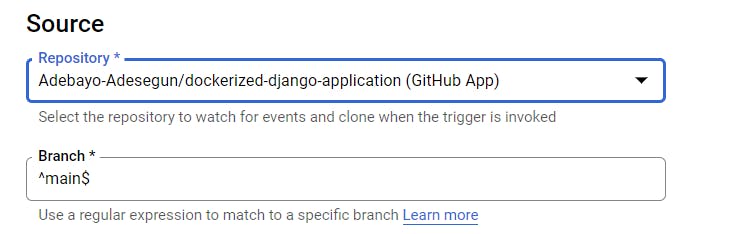
We see here that the repository has been selected and the trigger is set to listen on the main branch.
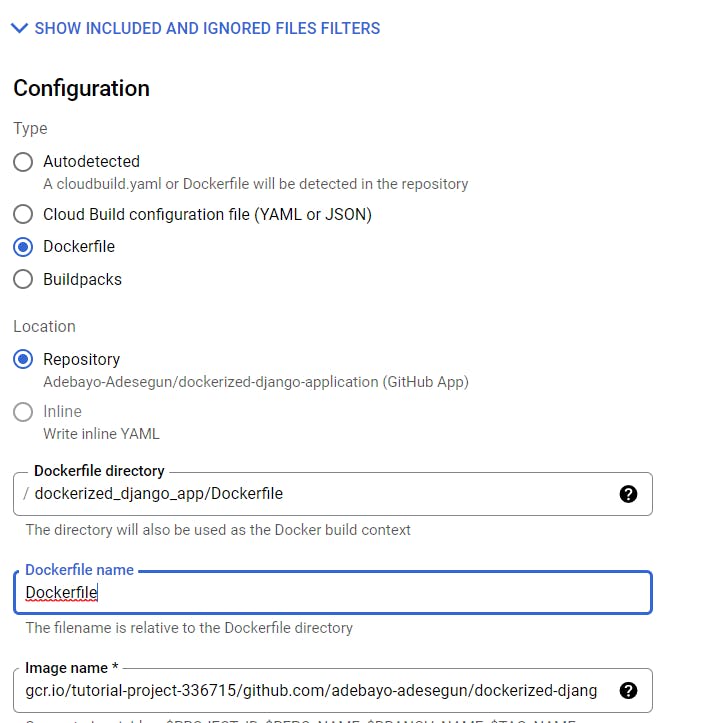
In the configuration section, we specify the directory for cloud build to pick up the Dockerfle, and the name of the docker file. You'll also notice that Cloud Build automatically named the docker image.
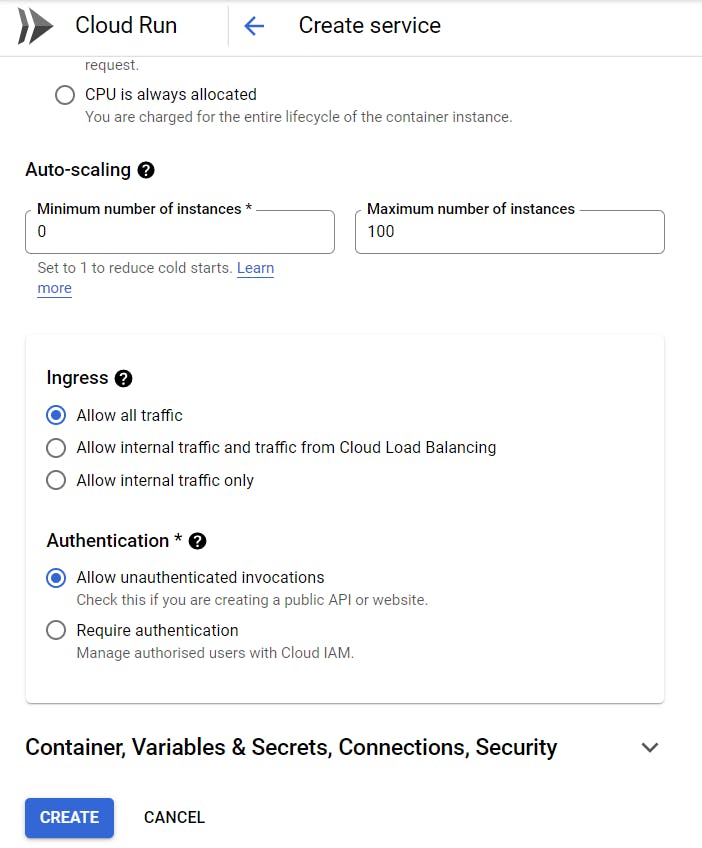
In the authentication section, select "Allow unauthenticated invocations" to allow access to your application over the internet.
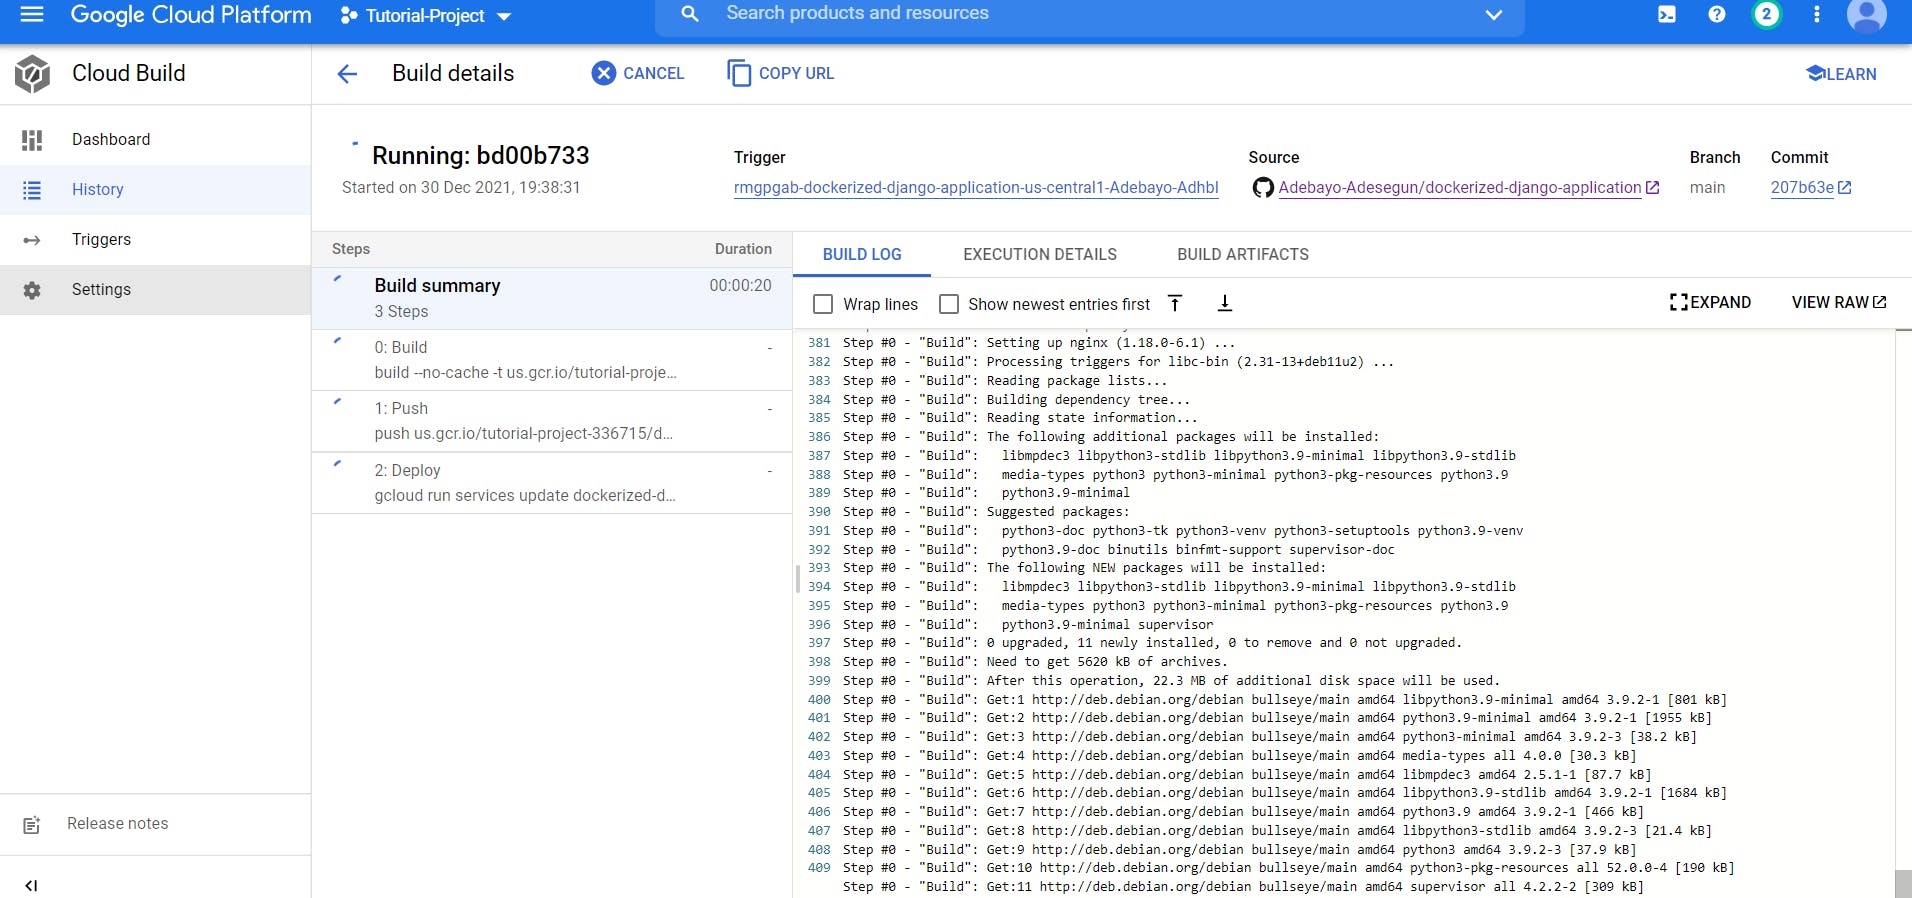
Having filled in the right details, we can then click on create which setups the expected trigger and we can monitor the build under the build history of the Cloud Build service page.
Once, the build has succeeded, you can access the application using the URL generated from Cloud Run.

Awesome, our docker container runs successfully on App URL
Glad you got to the end of this! ✌️
Let me know if you have any questions in the comment section. 😁